Bring your marketing and sales together with the MailChimp integration by UPilot
The engagement of a prospect with your marketing activities is valuable information for your sales and support staff. That information can now be made available inside UPilot, providing your sales people with vital information.
Clicks and opens from MailChimp are automatically associated with their respective records in UPilot. You can also add a new contact to a mailing list with a single click. Want to create a new list in MailChimp? No problem – you can do that from UPilot itself!
This means that these insights are no longer limited to marketing departments alone and Mailchimp can be effectively used to what it does best – crafting and sending beautiful campaigns.
Using our legendary easy admin controls, the UPilot admins can decide who gets to see this information inside UPilot.
We built the MailChimp integrations because we love using MailChimp for ourselves. What was missing was the ease of adding contacts to a list without having to export and reimport each time as well as seeing the activities of any particular contact we wanted to focus on.
Connect your MailChimp Account

Quickly set up the connection between your MailChimp and UPilot accounts through:
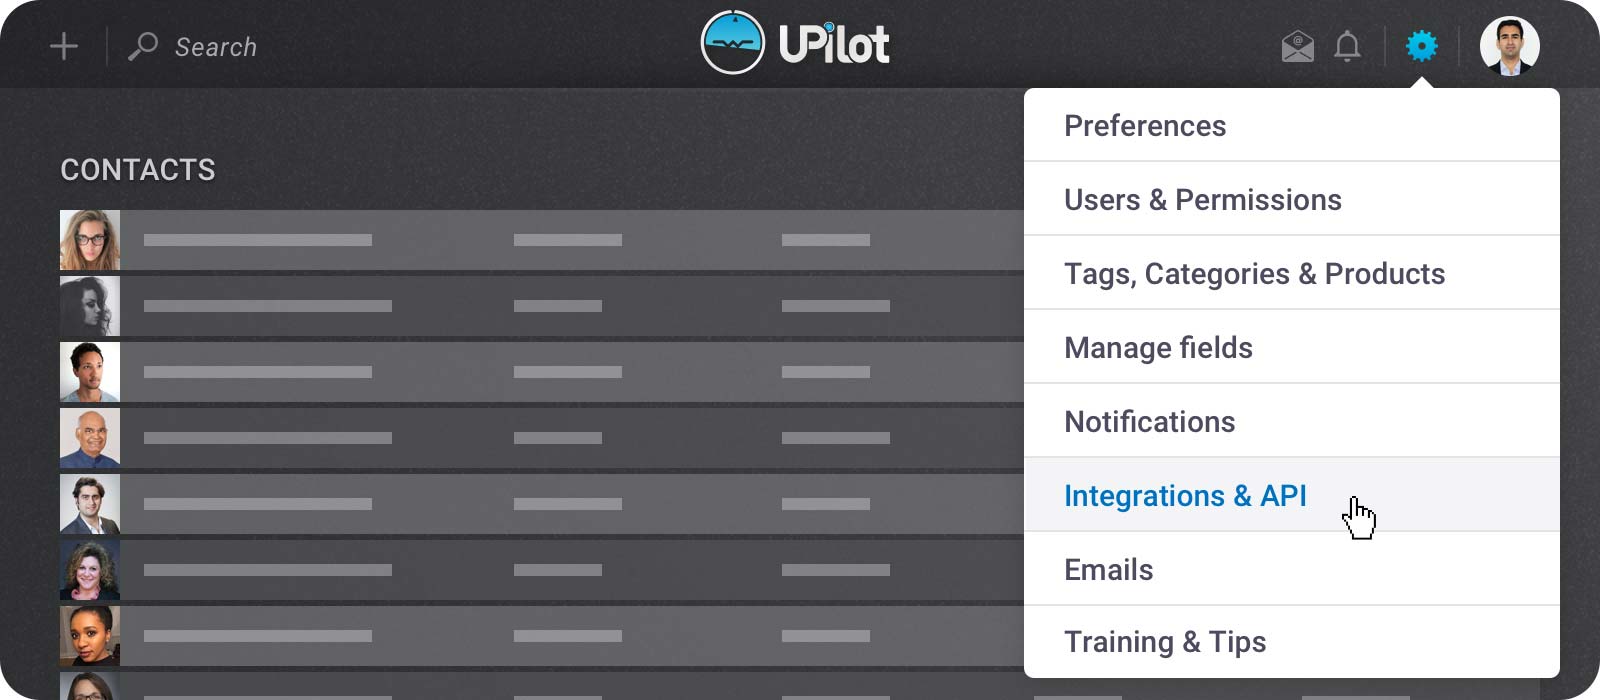
- From your UPilot account, click on Settings (gear icon on the top-right corner) > Integrations & API
- From the “MailChimp integration” section, click on CONNECT
- From the MailChimp page that appears, enter your MailChimp username and password and click on Log In
- From the authorization page, click “Allow”
View your MailChimp Activity in UPilot
To view the Mailchimp activity for any contact inside UPilot, you can:
- Open the contact whose activity you’d like to view
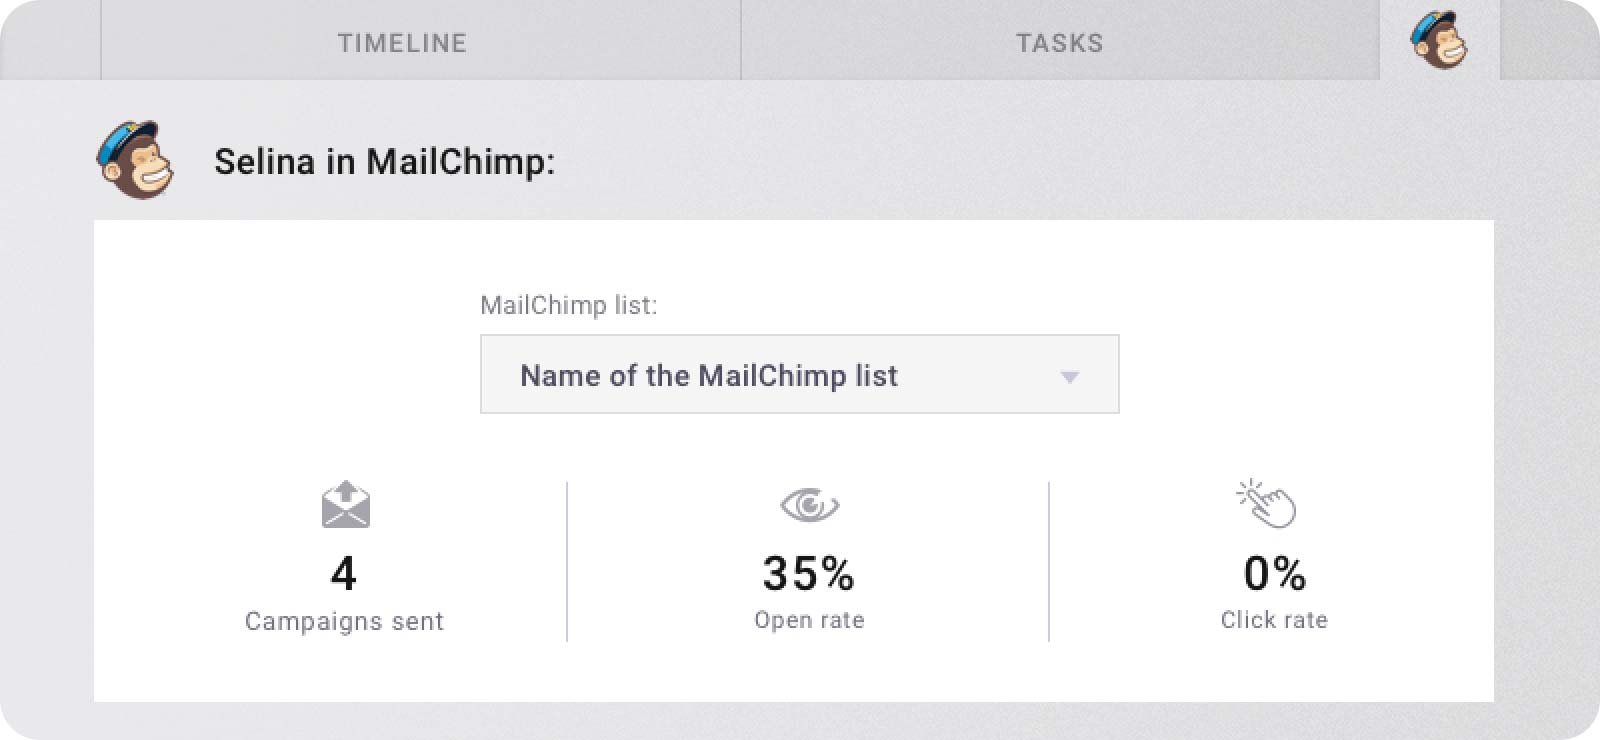
- Click on the MailChimp logo on the top right corner of the open contact
- You will be able to see the MailChimp activity of the contact, including Campaigns sent, Open rates, click rates, and the timeline

Send Your Contacts from UPilot to MailChimp
Once your MailChimp account is connected to UPilot, here is how can you easily send your contacts to your MailChimp account:
- Go to the Contacts page in UPilot
- Set up the filters as needed so you are only viewing the contacts you’d like to send to MailChimp
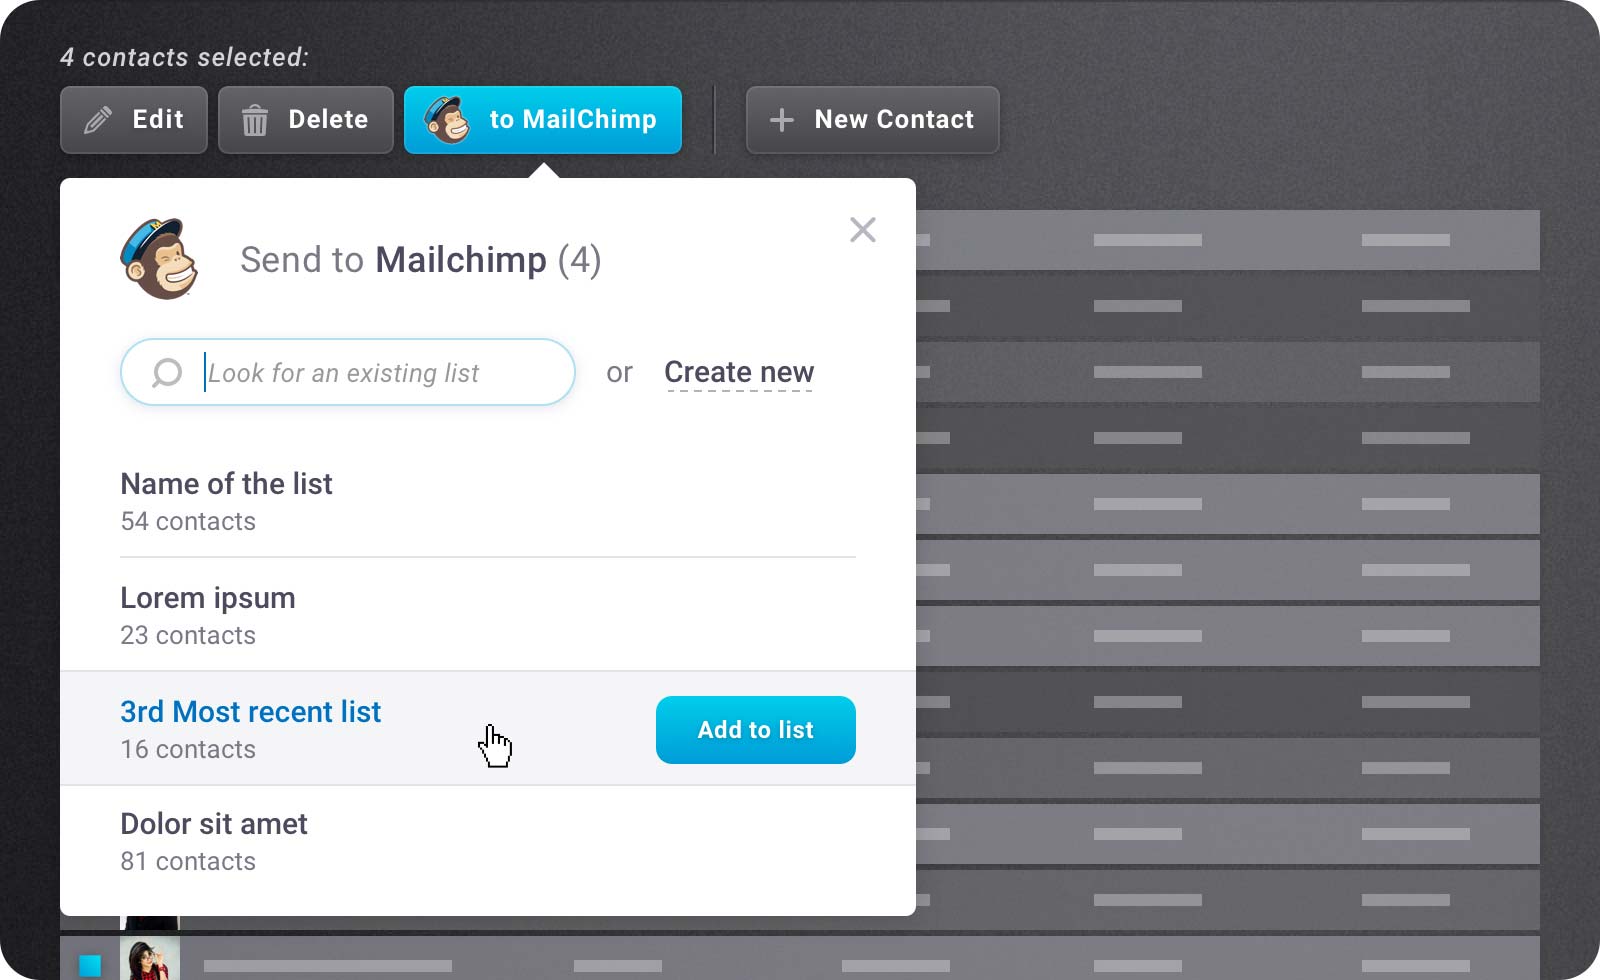
- From the checkboxes on the left of the person’s name, select the contacts you’d like to send to MailChimp
- Click on the MailChimp icon that appears
- Hover over an existing list in MailChimp or create a new one > Add to list
Your contacts have now been sent to your selected list in MailChimp!

Manage Contact’s Mailchimp Tags in UPilot
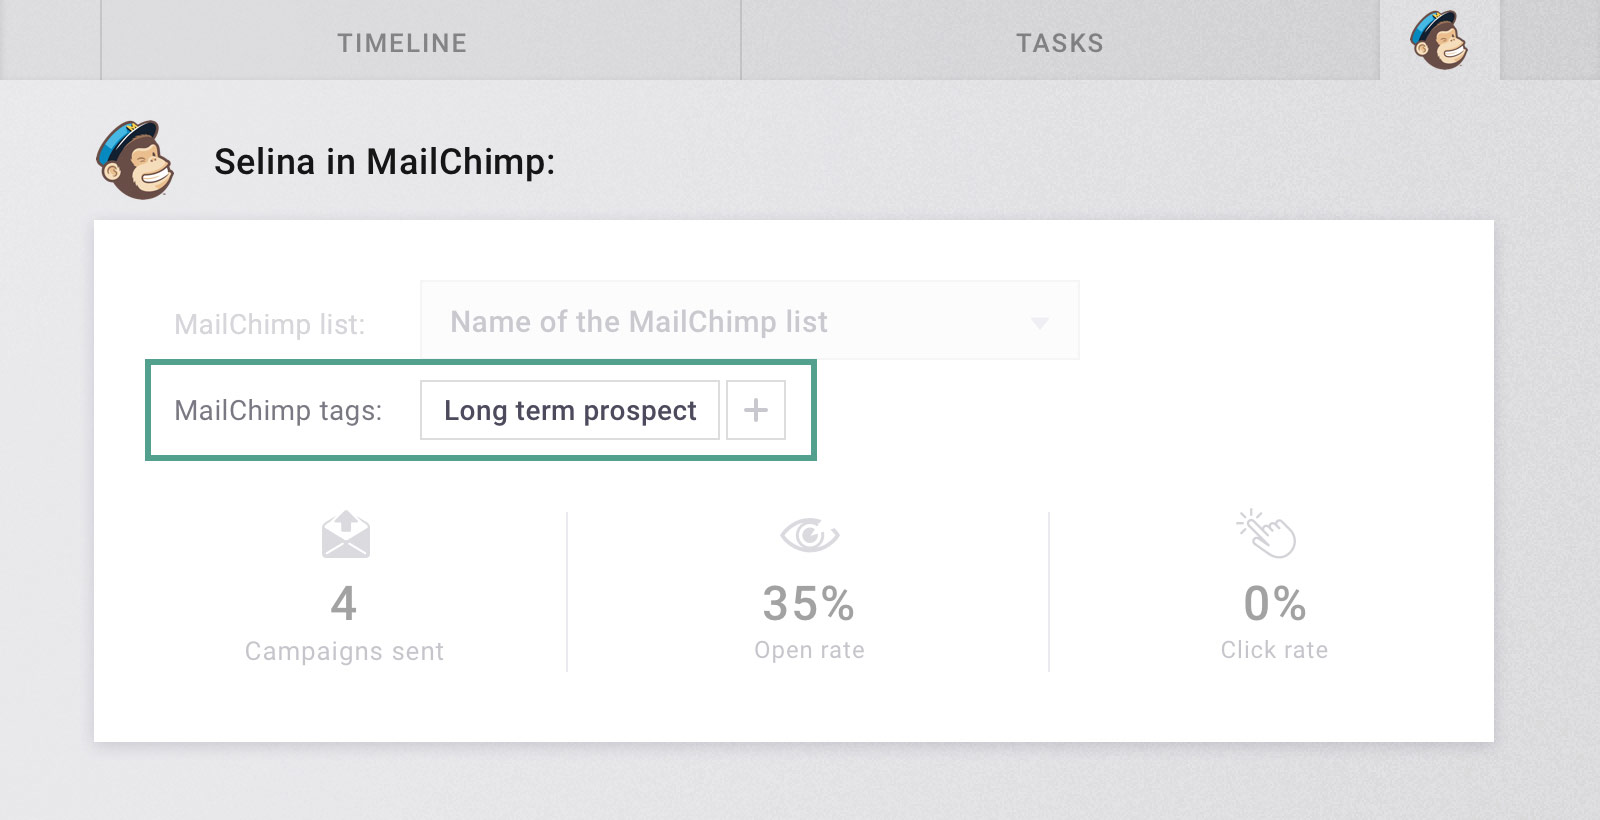
For any list that you have in Mailchimp you can create new tags for the list, add, or even remove tags from individual contacts directly from UPilot’s individual contacts. To add in an existing tag to your contact:
- Open any contact in UPilot
- Click on the Mailchimp tab on the top right corner
- Click on the ‘+’ next to the ‘Mailchimp tags’ option
- Select the tag you’d like to apply to the contact
- Click ‘Apply’
Your tag is now applied to the contact in Mailchimp!
